
-
Exchange 2013 *First Look / Getting Started*
Posted on August 29, 2012 by Michael in Latest News, Tutorials
With the next release of Exchange on its way, I thought I’d have a play and take a look at how exchange 2013 looks and also what this new version has to offer.
Exchange Server 2013 has been released as part of a public preview, so in this guide/how to I’m going to go through the steps required to install on a domain controller running Windows Server 2008 R2 (with all present updates up to 27th August 2012).
Before we look at this though below are some of the main talking points (and some of the sections I’m going to cover in this guide – this is a very basic getting started guide for now)
- Installing Exchange 2013
- Reduction in server roles. (now only two: Client Access server and Mailbox server)
- New Outlook 2013 and Outlook Web App user interfaces, and offline access for OWA
- Exchange Management Console has now been removed, this is replaced by a new web-based console (and for command line fan’s the exchange management shell remains)
- Improvements to high availability features and manageability
- Public folders are now stored in mailbox databases and can take advantage of Database Availability Groups for replication and high availability
- Data loss prevention capabilities that can be integrated into Transport Rules
Right let’s get started and see what we have to do then. I’ve not read anything about pre-requisites (which every right minded person will do I’m sure), I’m simply going to run the installer and see what happens.
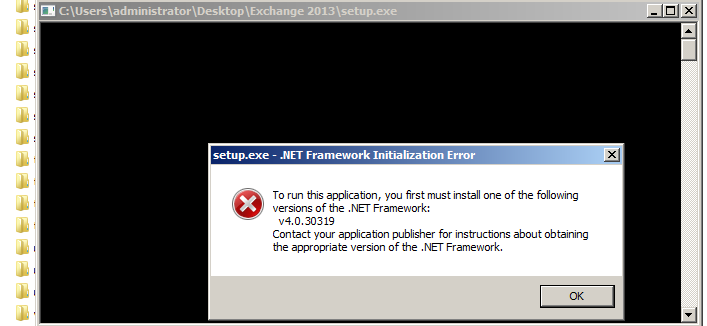
Right, here’s the first problem, looks like I need to update to at least .NET 4.0 OK no biggie, I’ll install that and then see what happens.
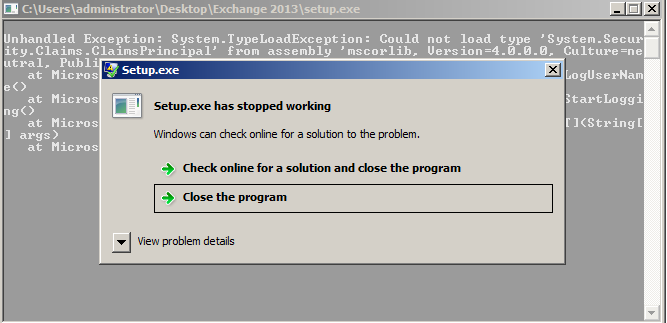
Right then, .NET 4.0 now installed so lets run setup.exe again…..Ok so maybe not, right I’ll update to .NET 4.5 and then go from there
Right then, .NET 4.5 also now installed so lets run setup.exe again
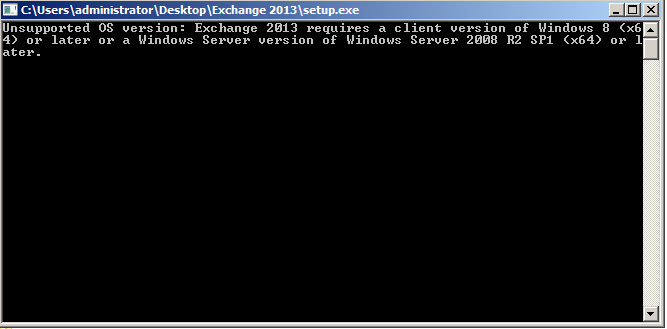
Just when I thought we were getting somewhere, looks like it’s now time to install SP1. So I’ll install that, along with all relevant updates and then we can try again! (obviously in the real world you would have covered off all the requirements..)
Right then, We’ve now covered off everything lets run setup.exe again and see what happens.
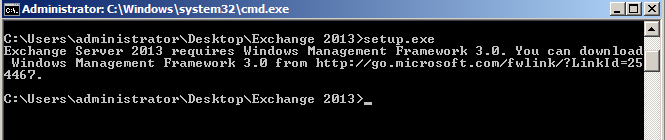
Oh dear, I guess we are not quite done yet…. Off I go once more.
With the above now installed, I’m hoping we can finally get this show on the road, and what do you know we’ve got a splash screen!
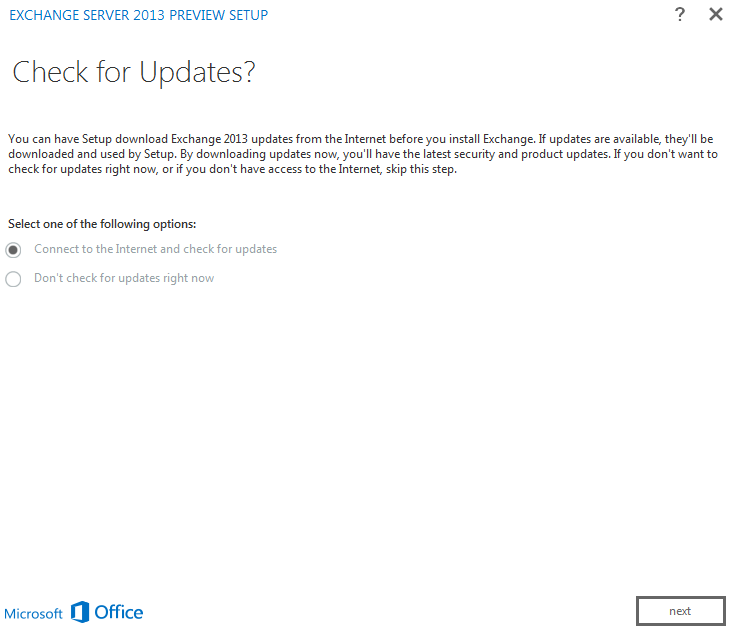
Not quite sure if the updates part is working yet….
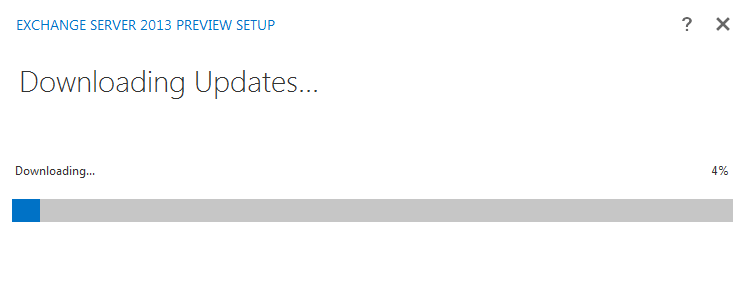
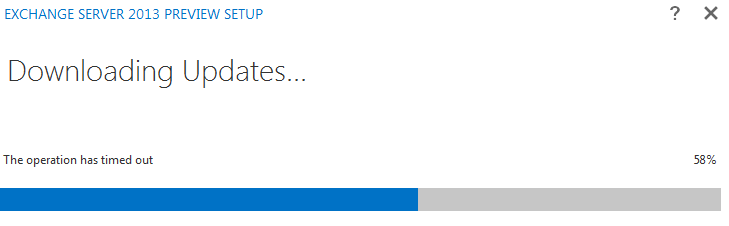
Ok well it allows us to click Next, so Next it is…
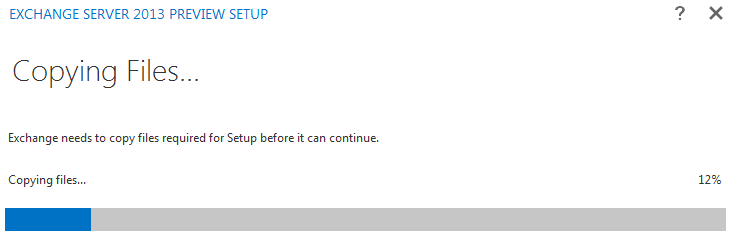
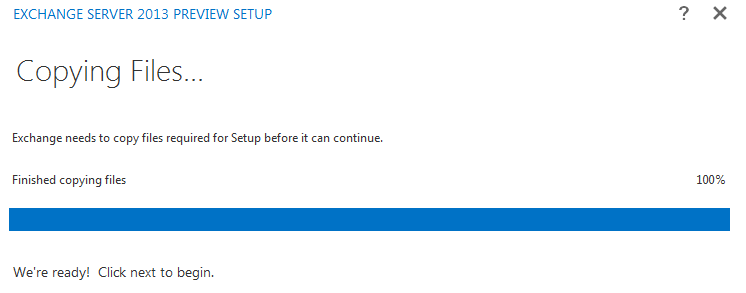
Success, we really are ready to begin!
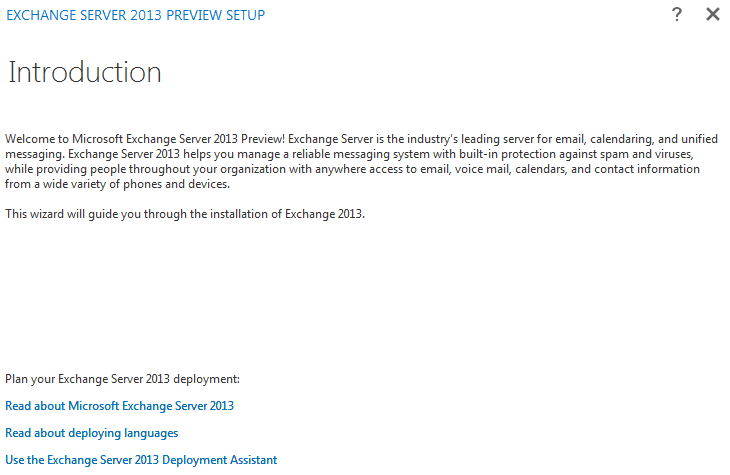
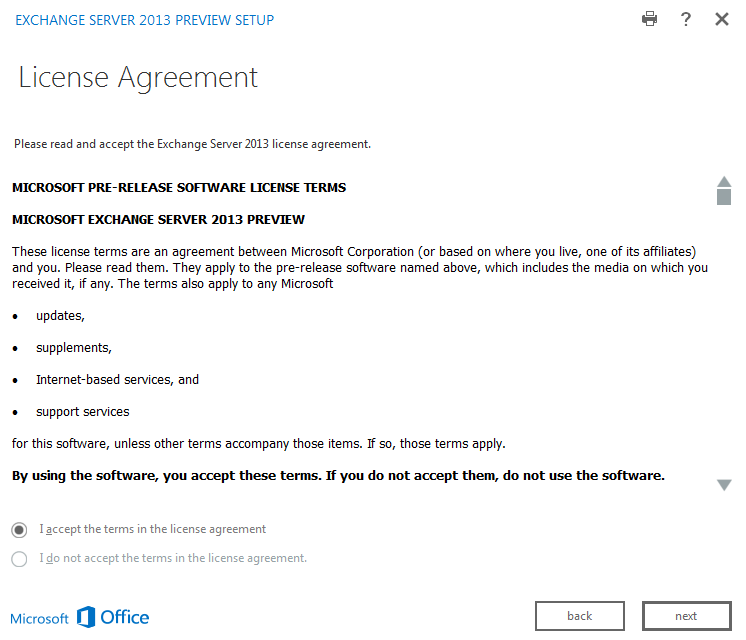
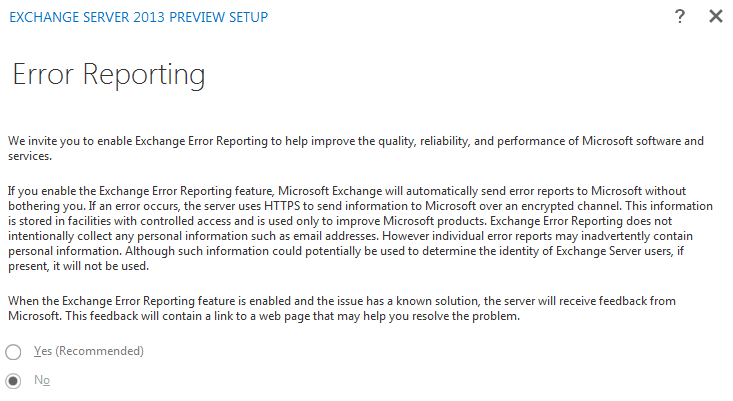
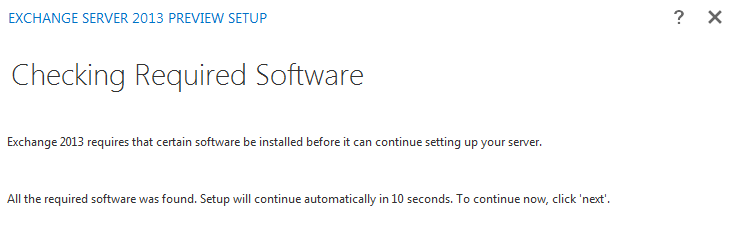
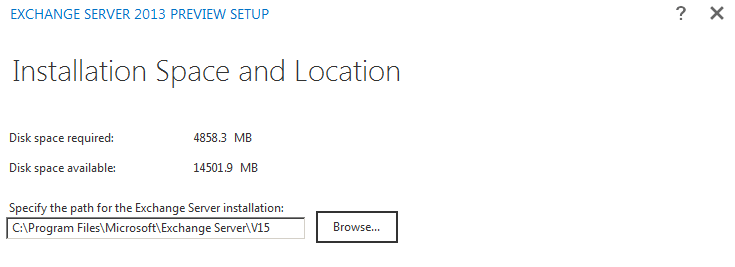
It’s the usual next next, accept for the next few screens….
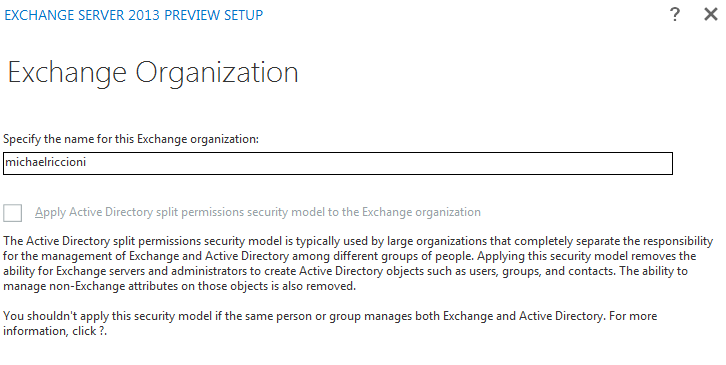
Create a name for your first organization
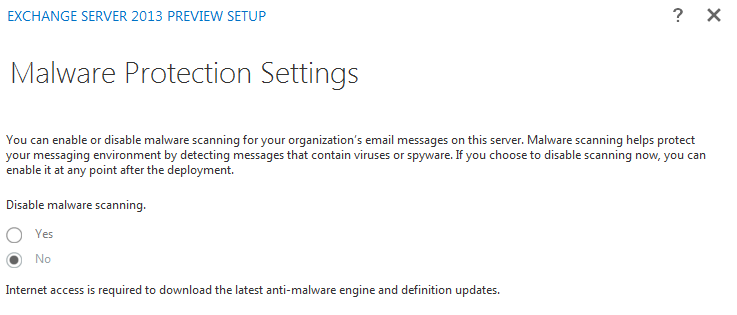
Decide if you want to have malware scanning on or off
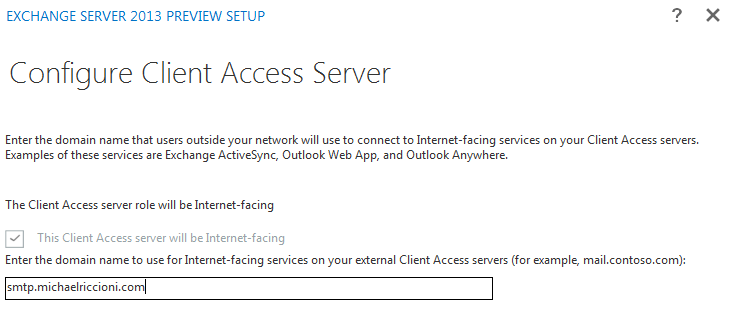
Now it’s time to setup the CAS (client access server). If this was a production environment, i’d be using the below URL for OWA/Outlook anywhere etc…
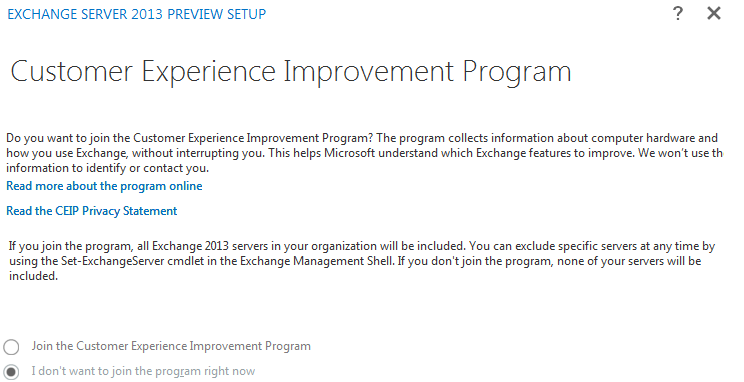
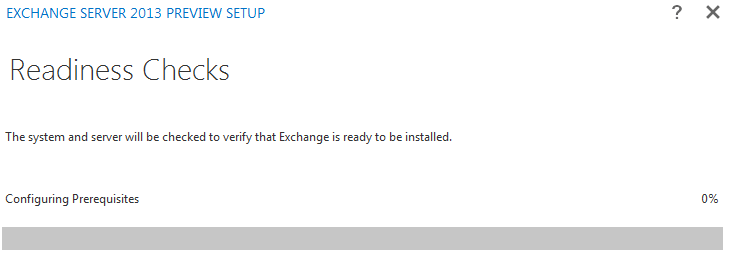
Right then, now it’s time for the installer to check over the system and hopefully get ready to install
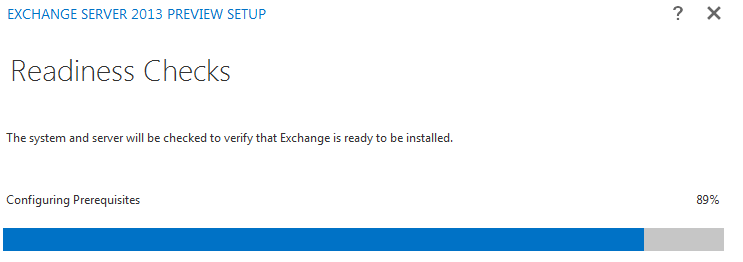
Oh dear oh dear, quite a few errors there to work through Michael!. To be fair I was fully expecting this, those of us who have installed previous version of exchange know their are certain prerequisite’s you need to install before exchange will install so I’m going to work through this list and then run the installer again…
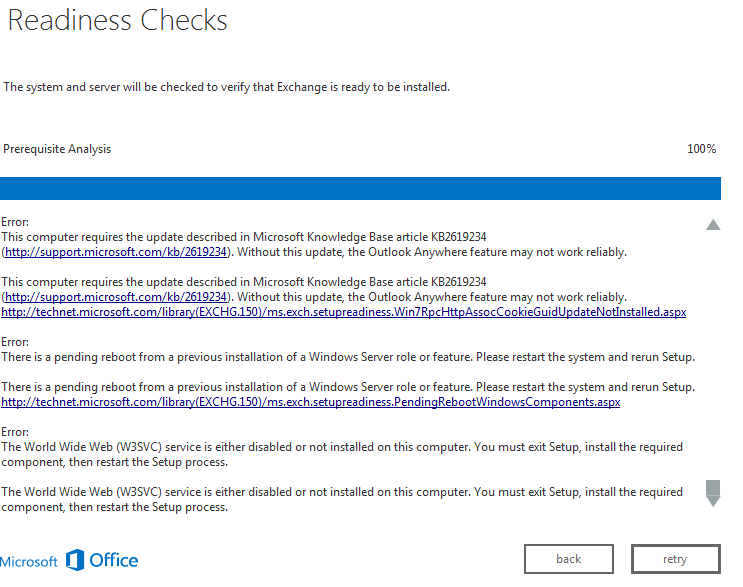
This is a simple one to resolve, just go to add remove program’s and un-install the update.
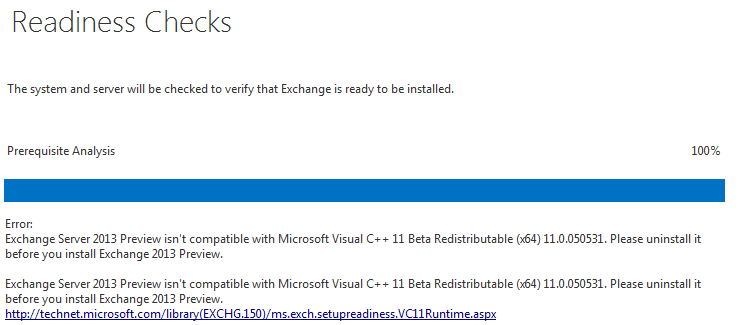
In terms of what you need to do for the prerequisites, you need the following:
From a powershell console run the following:
- Import-Module ServerManager
- Add-WindowsFeature RSAT-ADDS
Once done, reboot and then proceed to install the next features:- Add-WindowsFeature Desktop-Experience, NET-Framework, NET-HTTP-Activation, RPC-over-HTTP-proxy, RSAT-Clustering, RSAT-Web-Server
- Add-WindowsFeature WAS-Process-Model, Web-Asp-Net, Web-Basic-Auth, Web-Client-Auth, Web-Digest-Auth, Web-Dir-Browsing
- Add-WindowsFeature Web-Dyn-Compression,Web-Http-Errors, Web-Http-Logging, Web-Http-Redirect, Web-Http-Tracing
- Add-WindowsFeature Web-ISAPI-Ext, Web-ISAPI-Filter, Web-Lgcy-Mgmt-Console, Web-Metabase, Web-Mgmt-Console, Web-Mgmt-Service
- Add-WindowsFeature Web-Net-Ext, Web-Request-Monitor, Web-Server, Web-Stat-Compression, Web-Static-Content, Web-Windows-Auth, Web-WMI
(You can install them all at once, I prefer to do a few at a time. No reason for it really)Once you covered off the above you will need the following updates. Personally I’d install them in the below order- http://support.microsoft.com/kb/2619234
- http://support.microsoft.com/kb/974405
- http://go.microsoft.com/fwlink/?LinkId=238142
- http://go.microsoft.com/fwlink/?LinkID=191548
- http://www.microsoft.com/download/en/details.aspx?id=26604
- http://www.microsoft.com/en-us/download/details.aspx?id=17718
- http://msdn.microsoft.com/en-us/library/5a4x27ek(v=VS.110).aspx
- http://www.microsoft.com/en-us/download/details.aspx?id=29939
And finally once all that is done we should be about good to re-run setup. The below is nothing to be concerned about (it’s the usual prompt regarding prepping AD)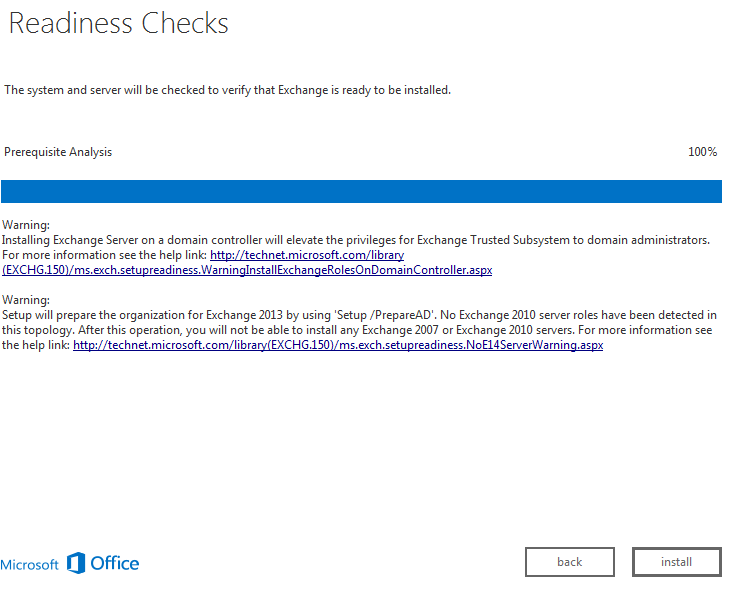 And success, we are done!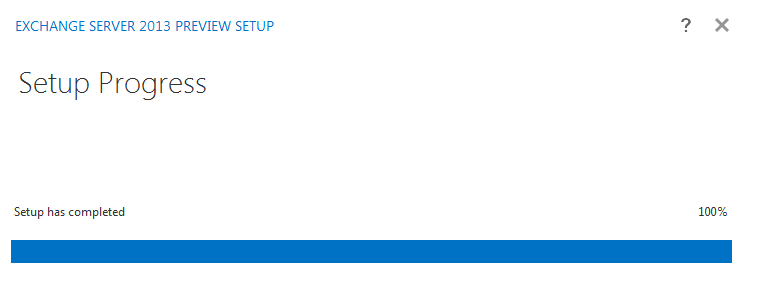
Right then, after a quick reboot of the server lets see what’s what shall we.
First up lets check what we actually have access to from the Start Menu.
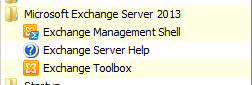
Looks fairly similar to 2010, but hang on where is the management console? Maybe it’s now called the Toolbox, so lets open up that
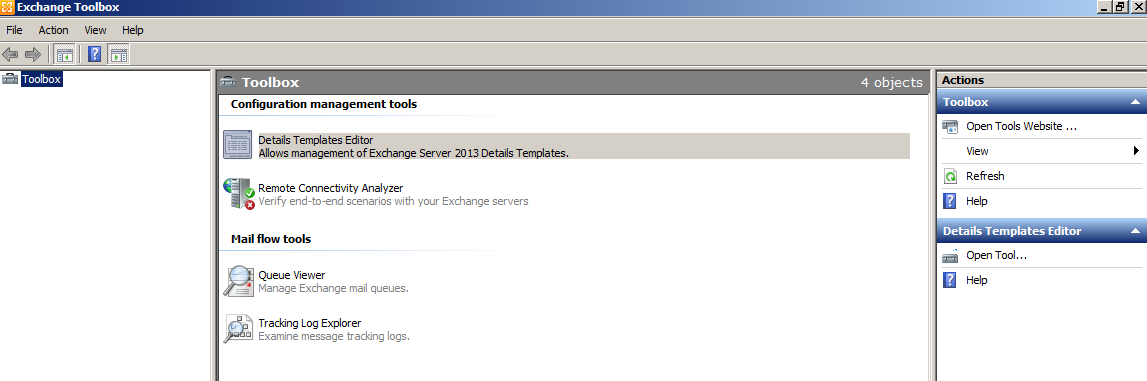
Ok so this doesn’t look like it. Just the basic troubleshooting toolbox. So how do we administer exchange 2013?
Well as you may (or may not) have heard it’s now done via a web interface. if you browse to https://localhost/ecp you will be presented with the below:
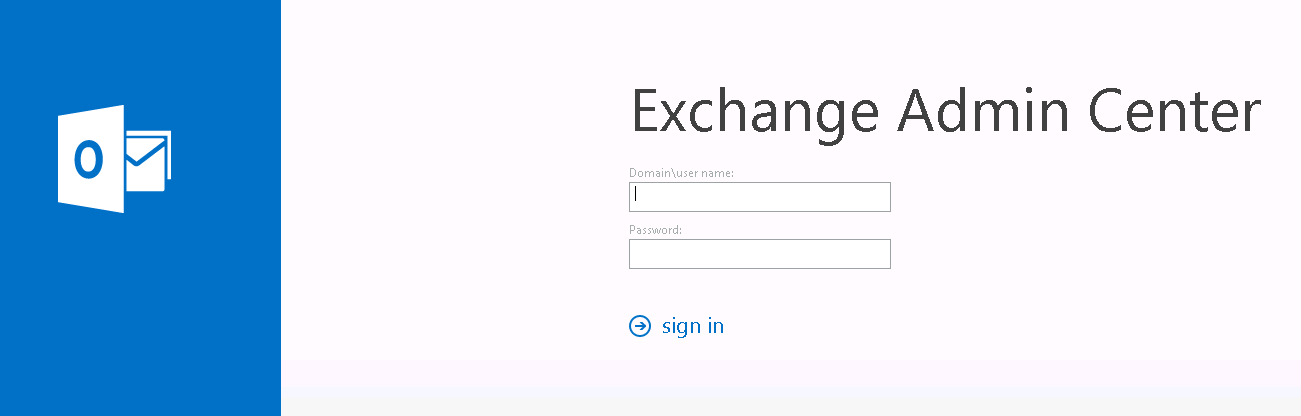
Login with the administrator account (or exchange admin account etc)
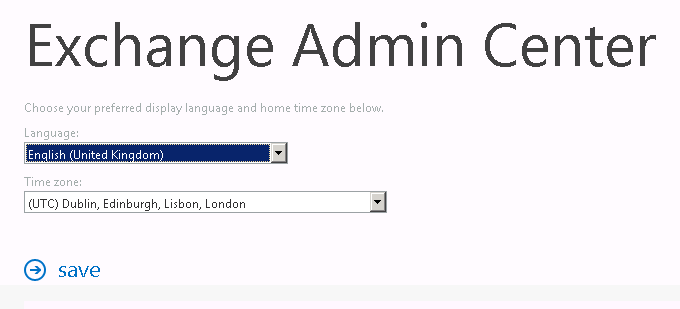
After clicking save it takes you through and here we have the management console.
First page presents us with Management of Mailboxes, which is more than likely one of the reasons you are in here.
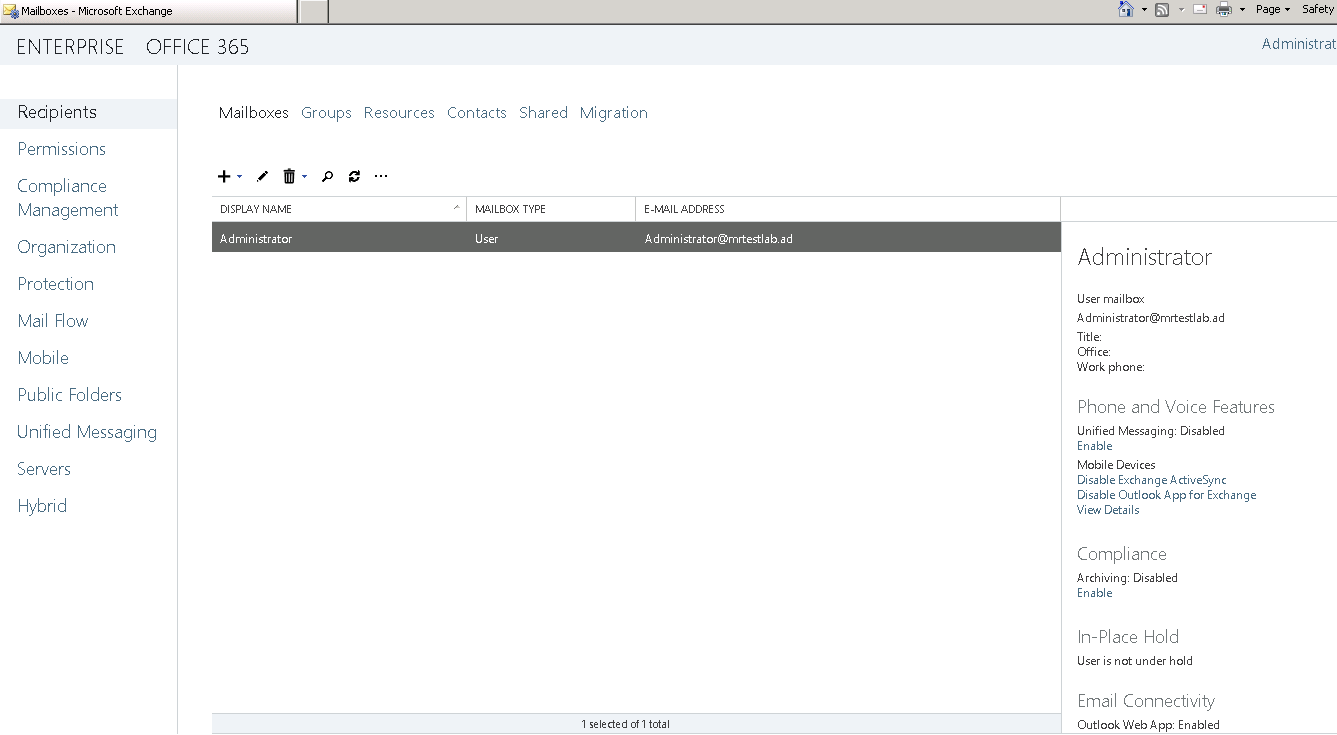
I’m going to skip this for now and navigate to “servers” on the left and then select “databases” and create a new mailbox database
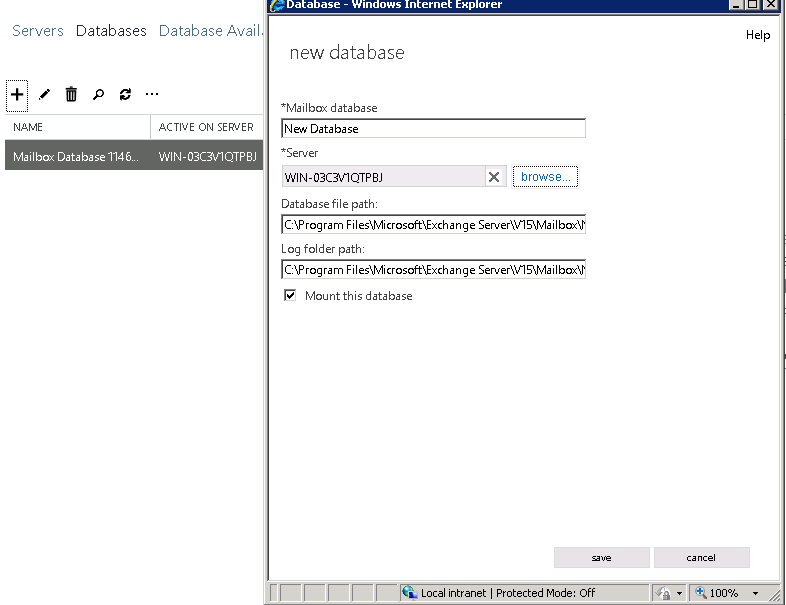
As you can see it’s fairly straight forward….
I’m now going to create a mailbox for an existing user I have already created in active directory
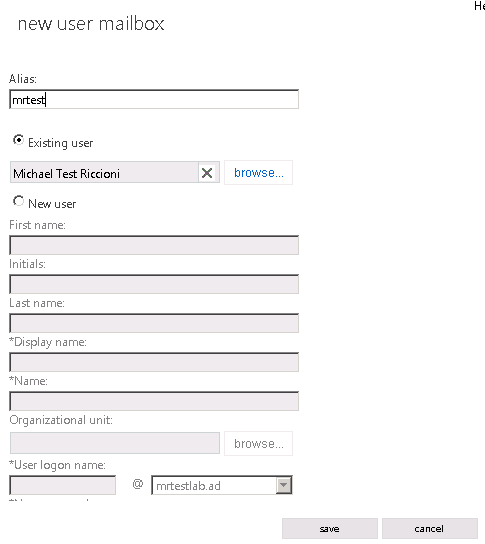
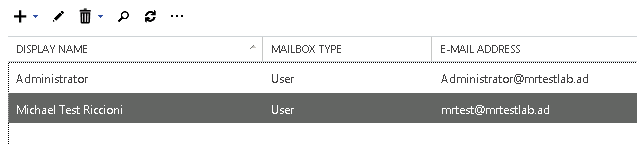
Again it’s all very straight forward, and if you’ve used Office 365 then it’s the same feel.
Now it’s all very well being able to create users, but Ideally I want to be able to send and receive email, so lets navigate to “Mail Flow” and “Accepted Domains”
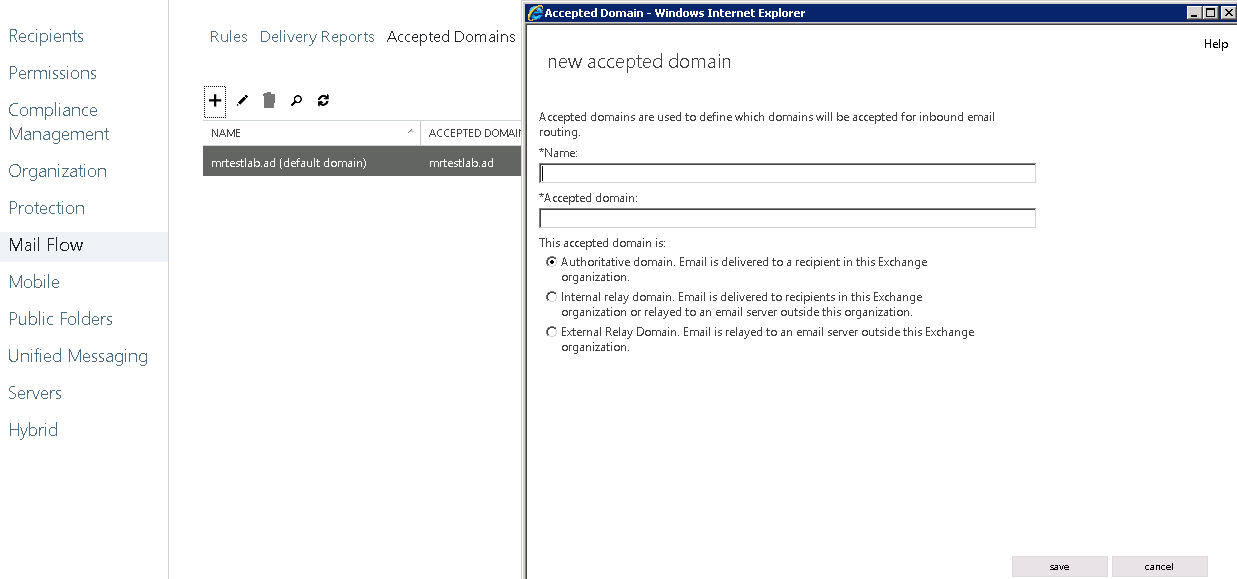
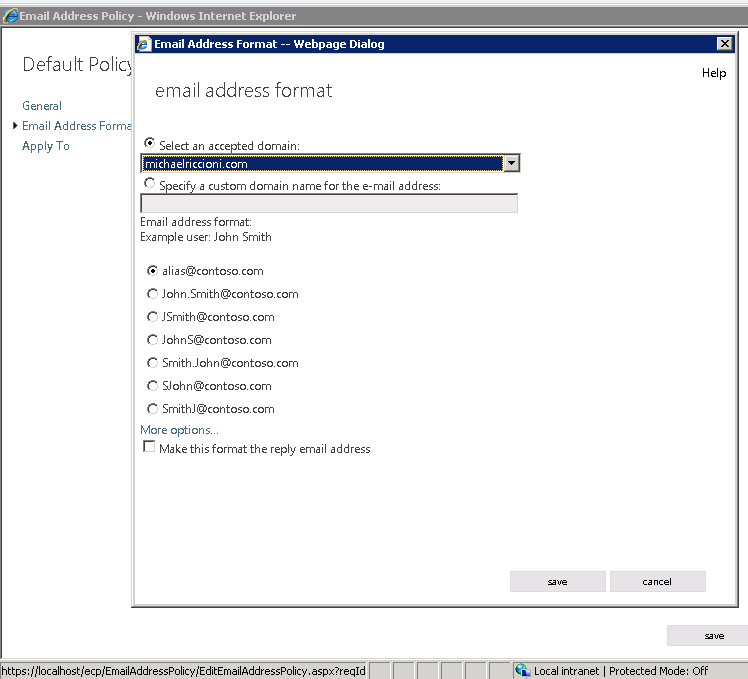
Once you’ve added your domain, click Email address policy and I’m going to update this to include my newly added domain.
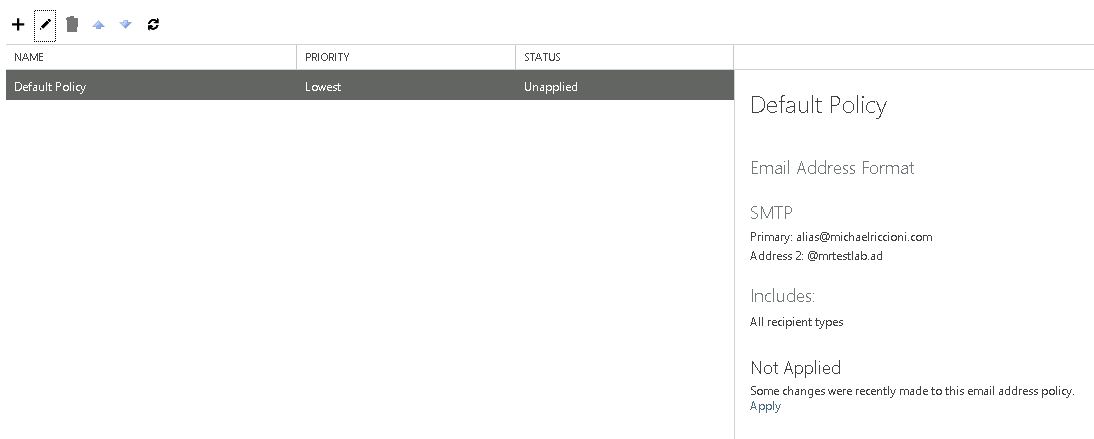
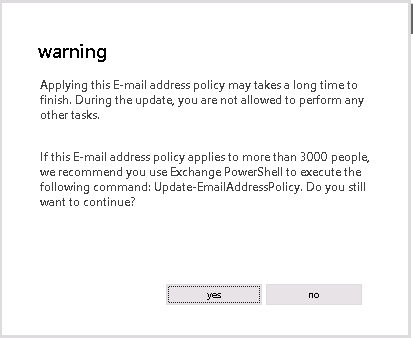
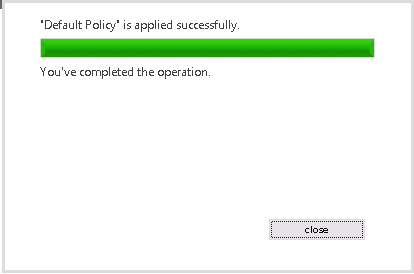
Now notice on the right the part which says “Not Applied”. It’s important you click apply here to apply the changes you’ve just made.
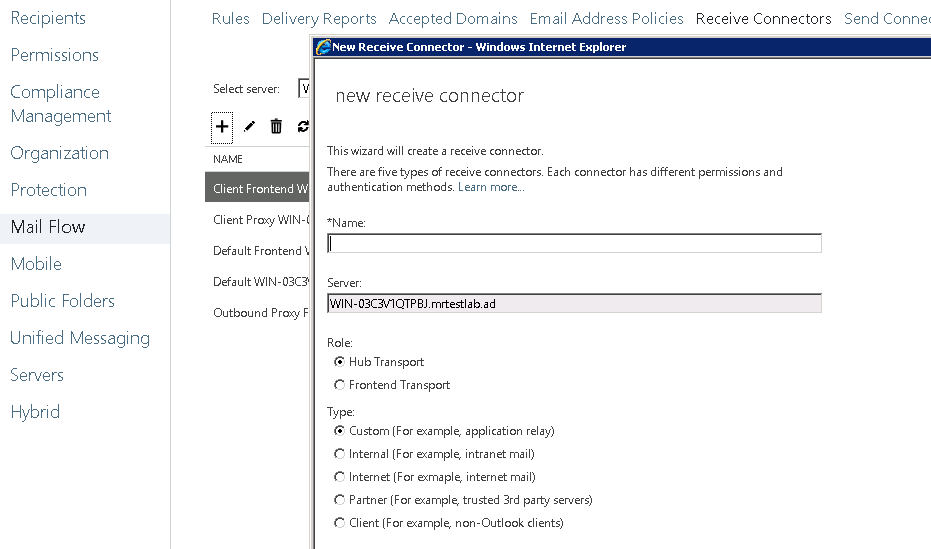
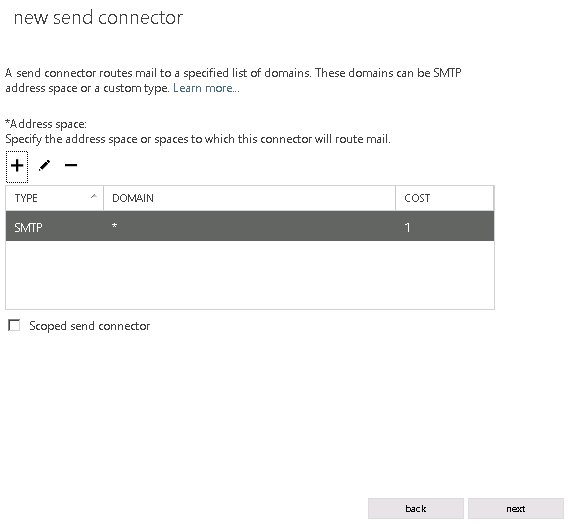
Right then now we need to specify a receive connector, again the interface is fairly self explanatory.
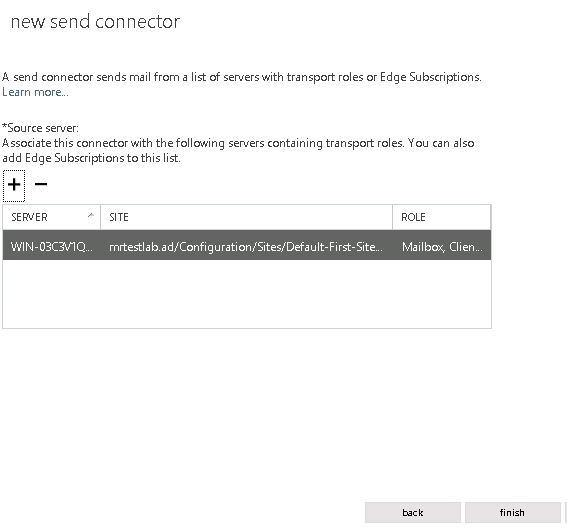
Like wise if we click on to “Send Connectors”, this is also fairly explanatory.
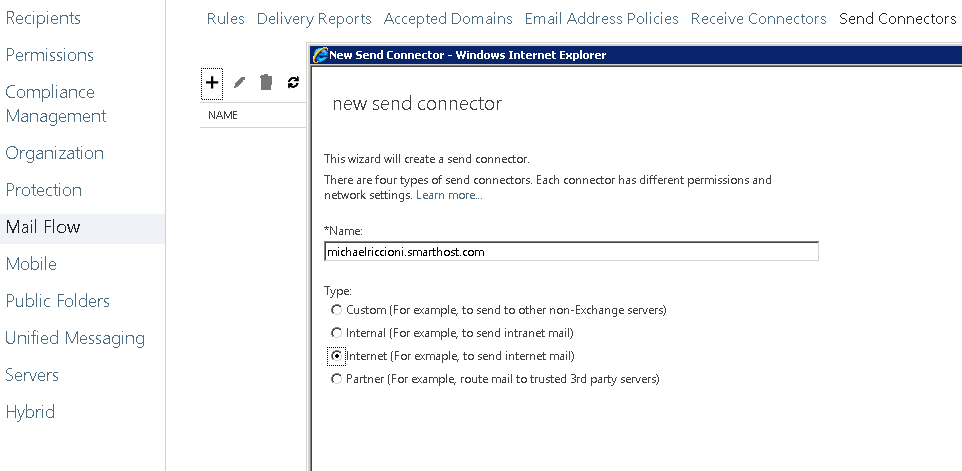
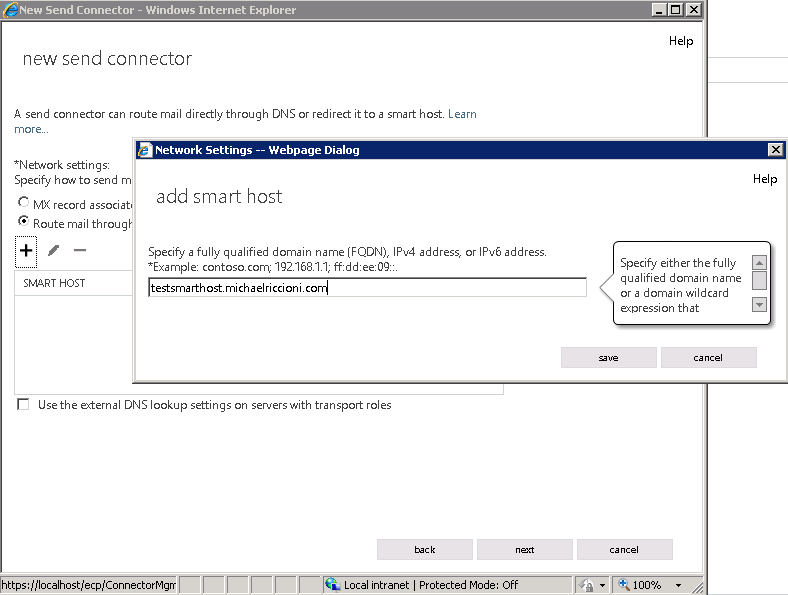
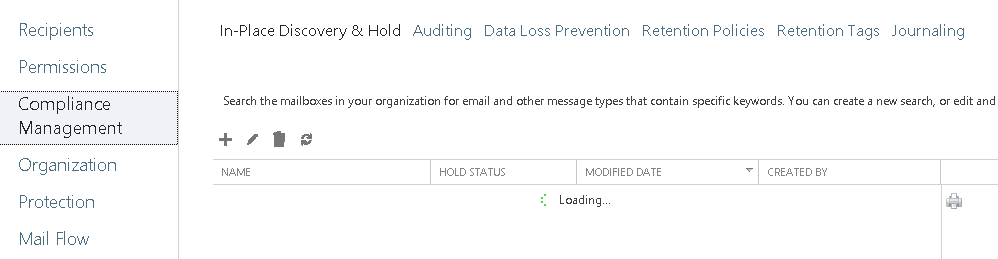
That’s pretty much all you need to get you up and running. I’ve not had a good chance to play about with the other features, and high availability yet, but a quick look at the Compliance Management tab shows the usual, legal hold, retention policy’s etc…
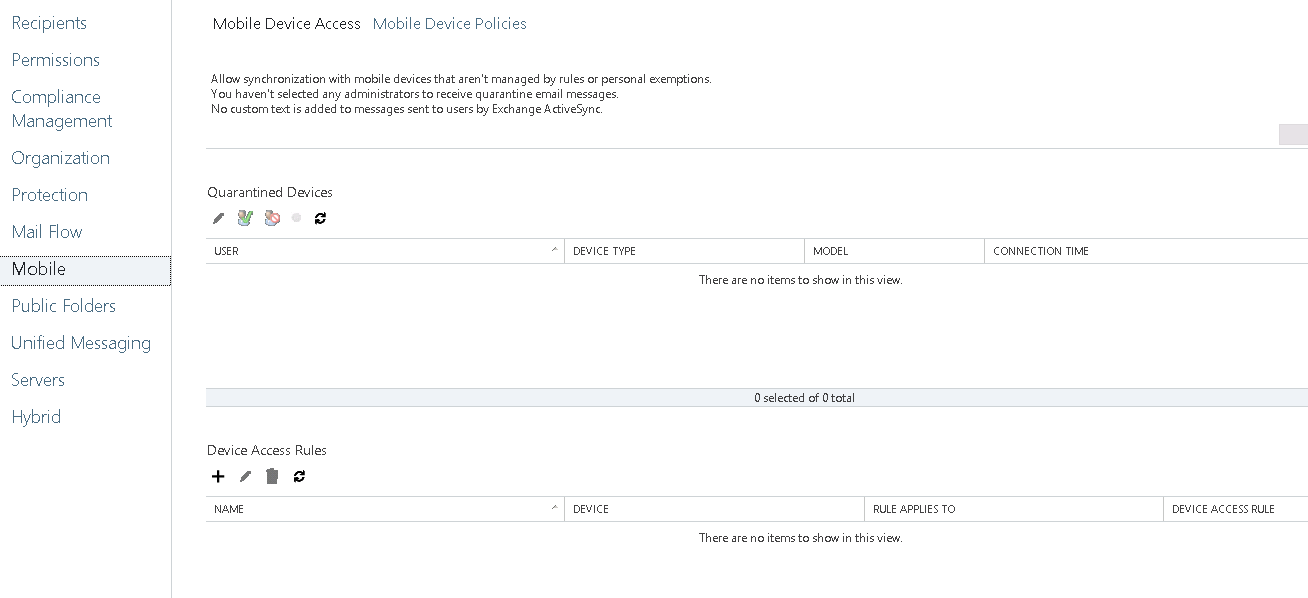
Mobile management is (as you would expect) found under the mobile tab
I guess all that’s left to do is open up OWA, and send a test email (internal email) to the account I created.
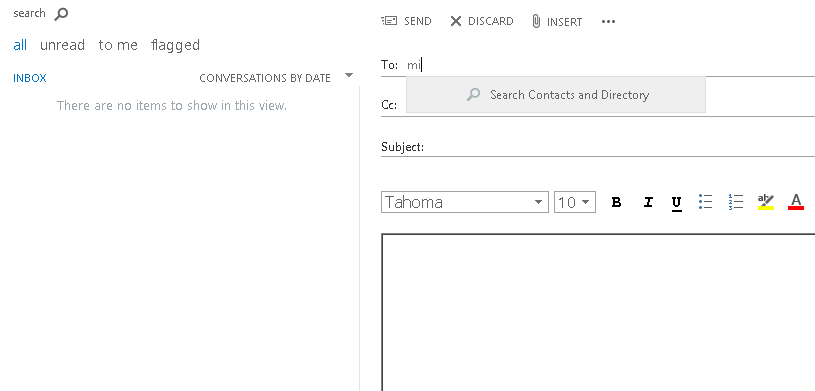
Can either type or search the directory, I chose to click search just to see how well it worked/how long it took.
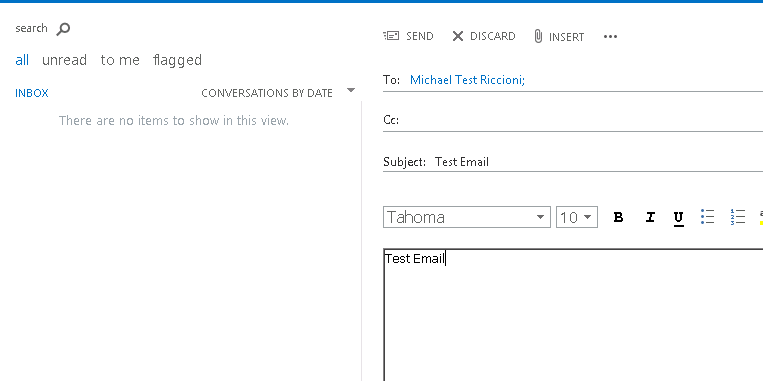
Compose the rest of the message then click send
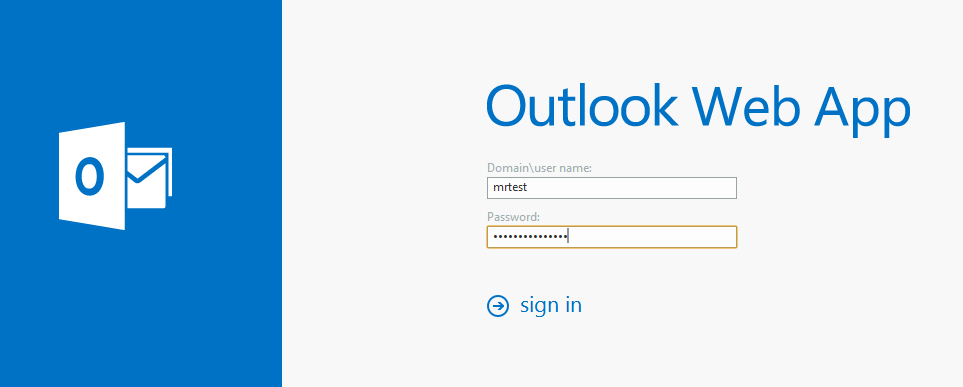
I logged in to OWA from a different PC and logged in as my test user
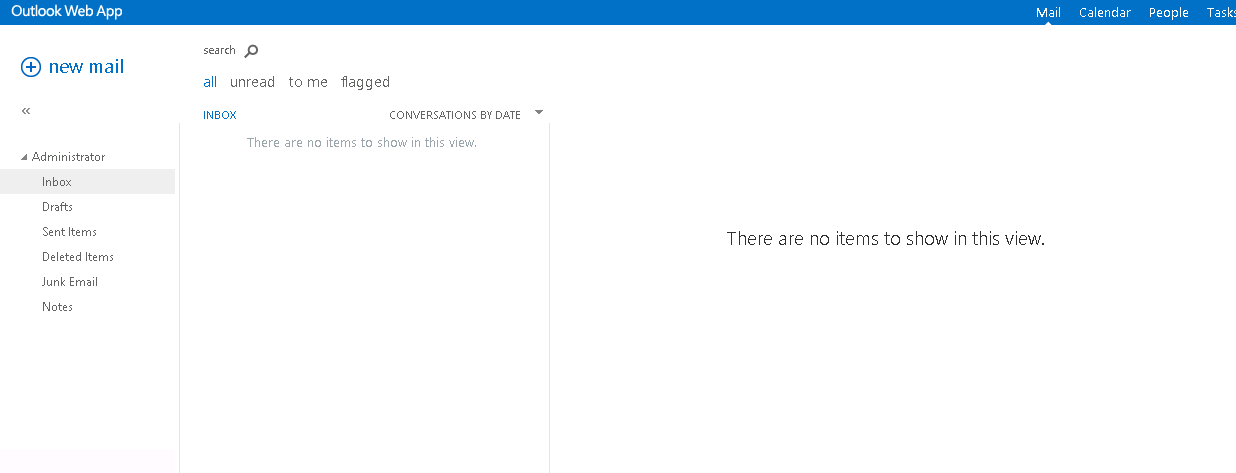
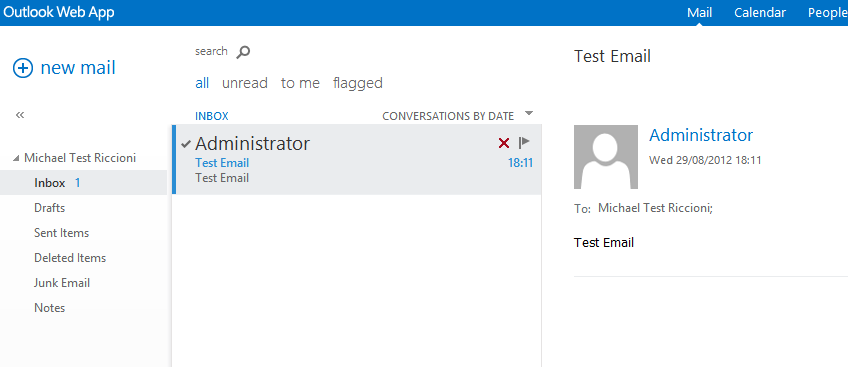
And sure enough there’s the administrators test email
and that’s it for today. I know this is not an in-depth review, that will come later on. This was purely to introduce you to exchange 2013, and get you up and running with the basics.
Am I sold on the new web interface? hummm the jury is still out on that one i’m afraid. I guess I just prefer a proper management console, the web interface just feels a bit “lite”. Fine for Office 365, but not really a heavyweight product like exchange. But I’m sure i’ll grow to like it.
In terms of layout, it seems a bit better laid out, if you are trying to find where they’ve moved something it’s pretty self explanatory with the tabs down the left, then the menu appears along the top of the web layout. I guess that alone might make it a tad more user friendly and easier to manage than other versions.
Anyway, this blog has gone on a fair bit now so i’ll leave you with it!
I always enjoy your blog posts, and look forward to future ones
Thanks for your write-up, it’s nice to see the basic look of exchange 2013. I look forward to more detailed blogs in future in regards to exchange 2013
Thanks for sharing excellent informations. Your website is very cool. I am impressed by the details that you share